这篇文章讲解如何使用雨云服务器搭建seafile网盘(开源版)
介绍
Seafile 是一款开源的企业云盘,注重可靠性和性能。支持 Windows,Mac, Linux,ios.
Android 平台。支持文件同步或者直接挂载到本地访问。
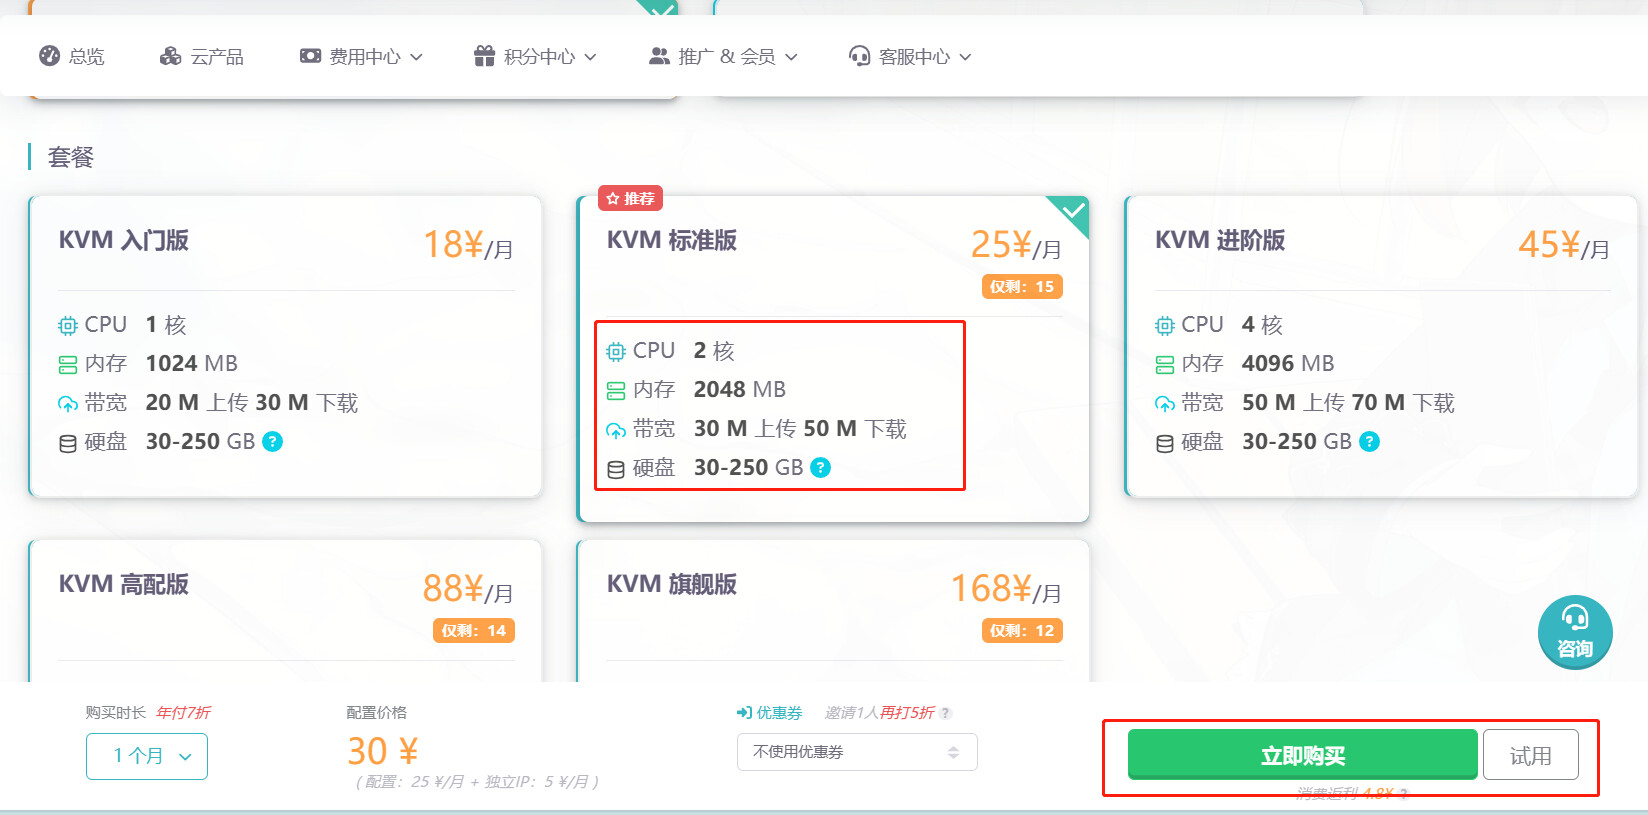
环境准备
-
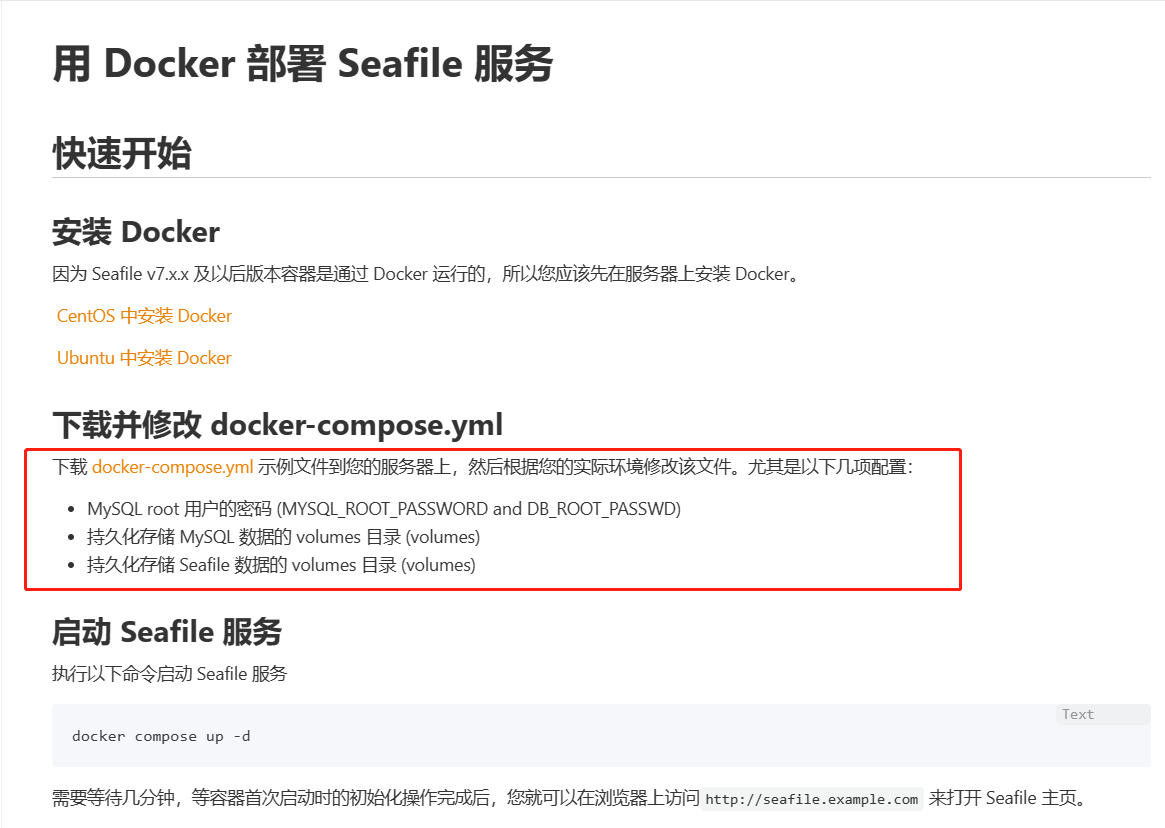
seafile开源版docker-compose.yml文件
下载docker-compose.yml文件后,修改挂载目录、管理员账号和密码即可。
安装1panel面板
购买好服务器之后,使用ssh连接工具连接服务器,我这里使用的是windows终端,原理都一样
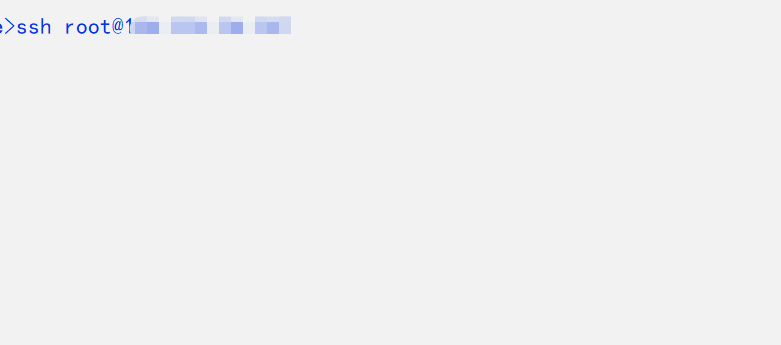
回车,输入yes,回车,输入密码。(输入密码时不可见)
在1panel安装文档页面选择对应的服务器命令
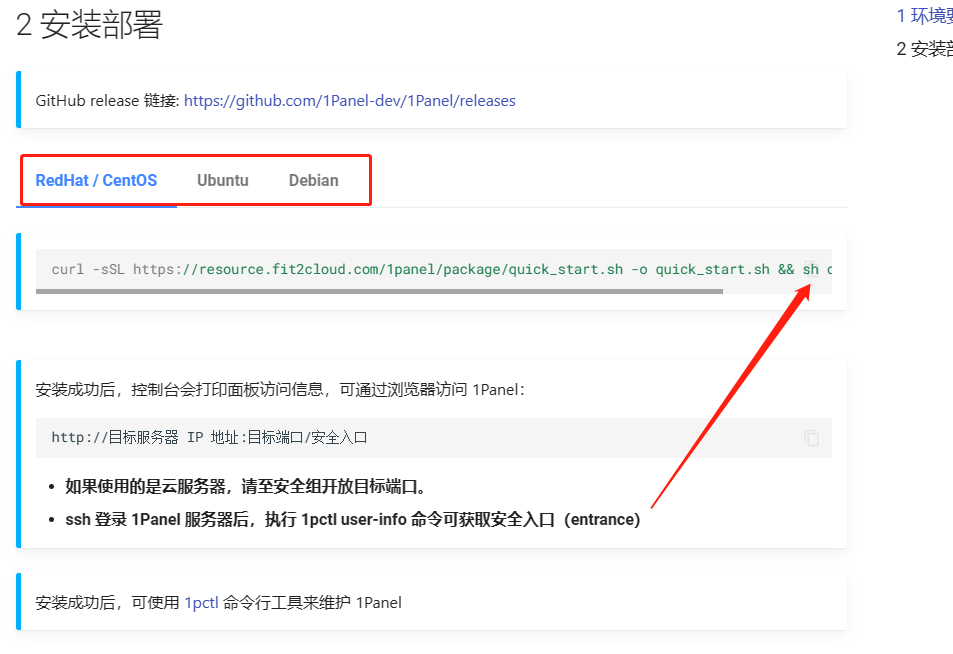
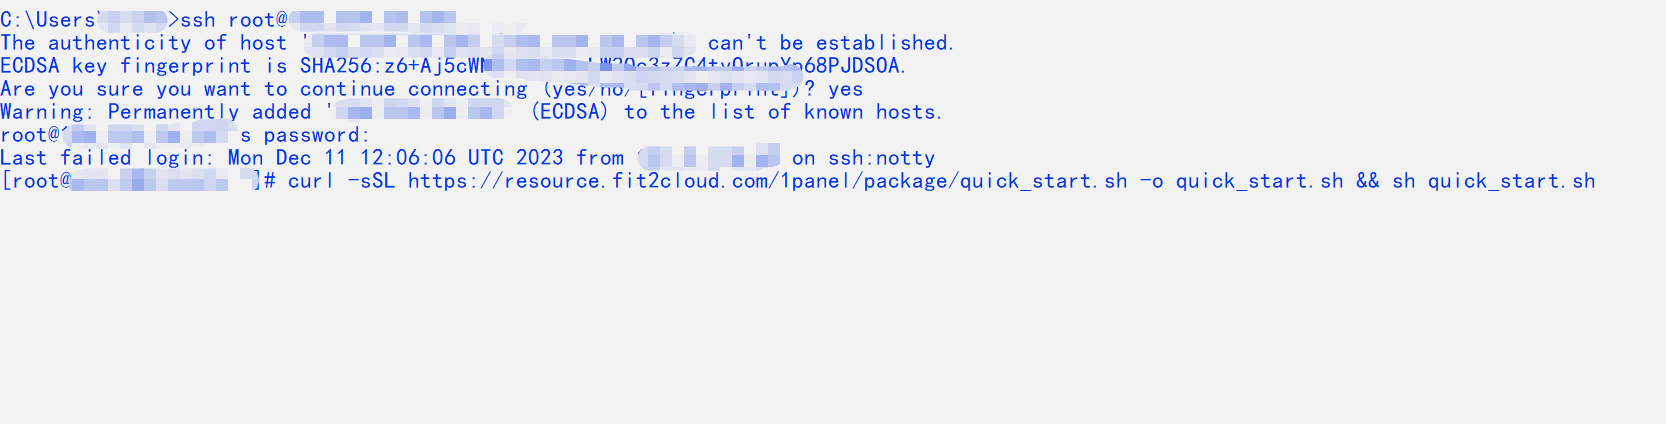
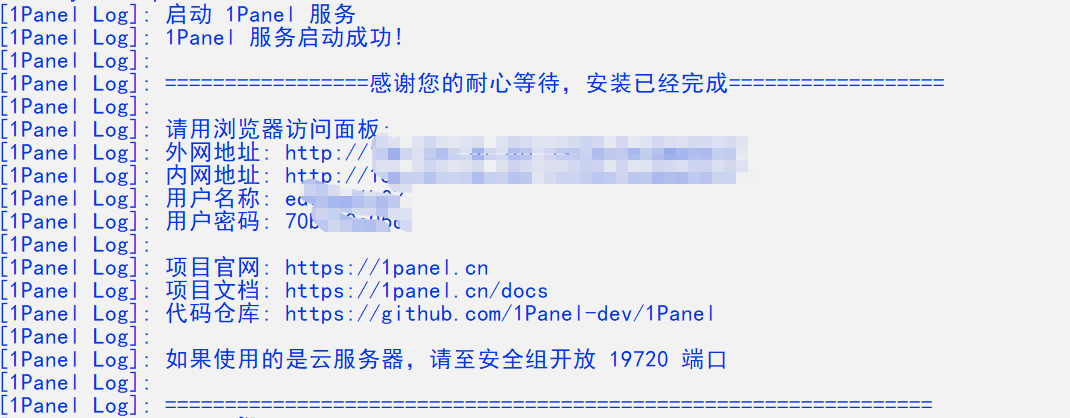
一路回车,安装完成后,会返回面板登录账号信息
登录ipanel并新建yml文件
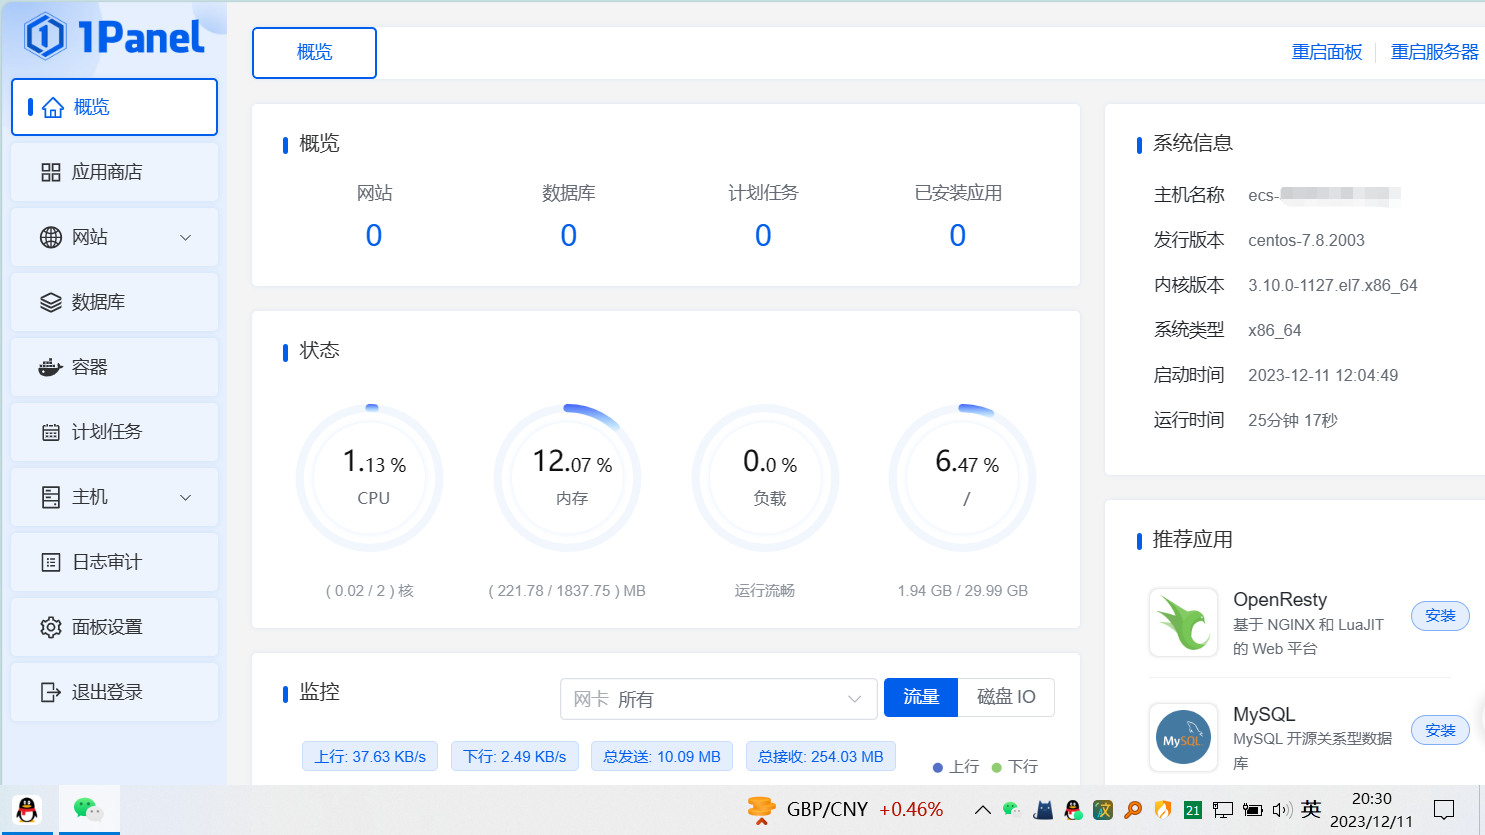
在浏览器登录服务器1panel面板
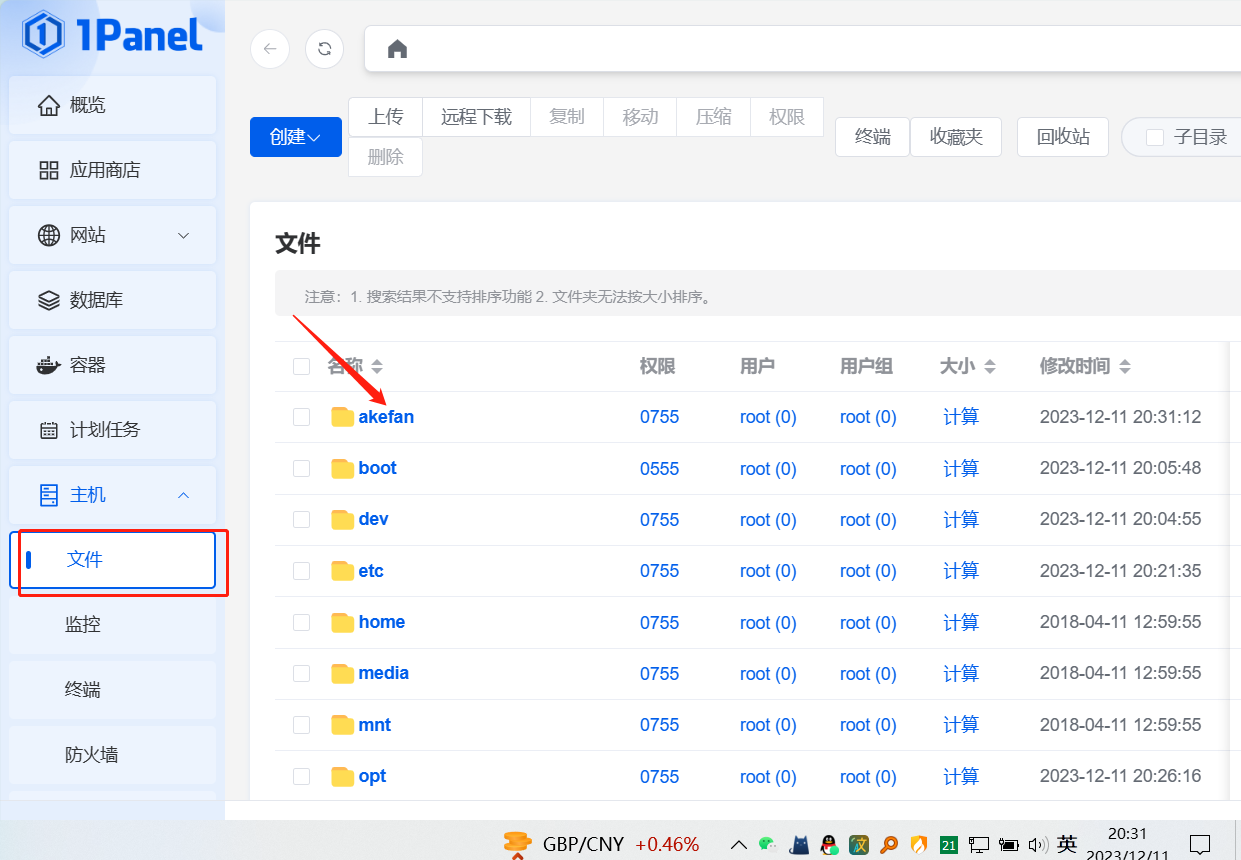
打开主机-文件-新建文件夹(随意命名),并新建docker-compose.yml文件
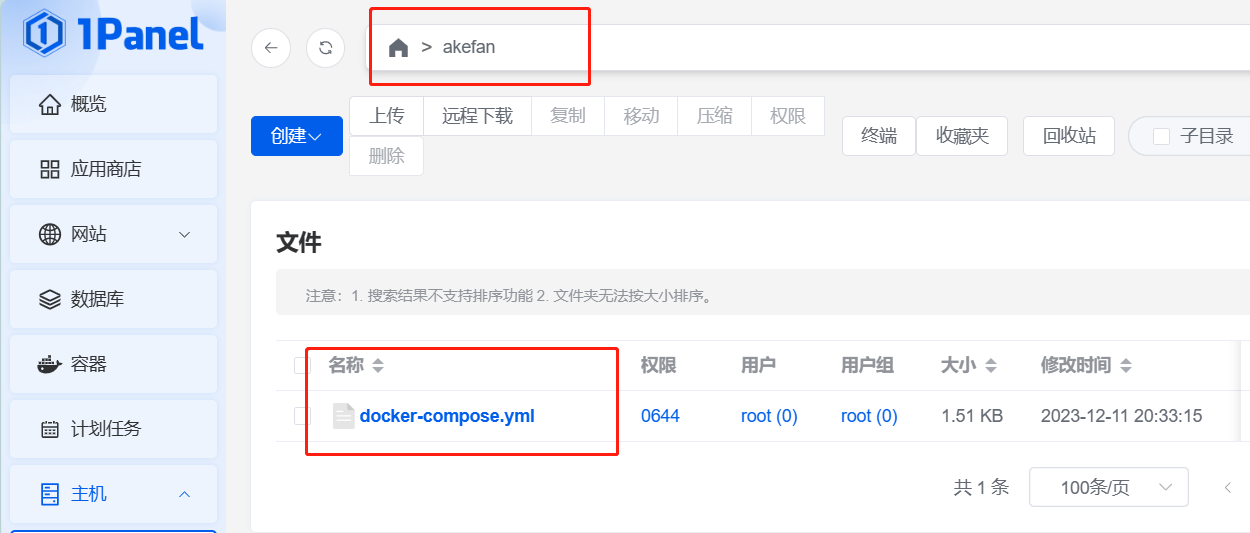
以下是一个docker-compose.yml文件内容示例
`services:
  db:
    image: mariadb:10.11
    container_name: seafile-mysql
    environment:
      - MYSQL_ROOT_PASSWORD=db_dev  # Requested, set the root's password of MySQL service.
      - MYSQL_LOG_CONSOLE=true
    volumes:
      - /akefan/seafile/seafile-mysql/db:/var/lib/mysql  # Requested, specifies the path to MySQL data persistent store.
    networks:
      - seafile-net

  memcached:
    image: memcached:1.6
    container_name: seafile-memcached
    entrypoint: memcached -m 256
    networks:
      - seafile-net

  seafile:
    image: seafileltd/seafile-mc:latest
    container_name: seafile
    ports:
      - "6580:80"
#      - "443:443"  # If https is enabled, cancel the comment.
    volumes:
      - /akefan/seafile/seafile-data:/shared   # Requested, specifies the path to Seafile data persistent store.
    environment:
      - DB_HOST=db
      - DB_ROOT_PASSWD=db_dev  # Requested, the value shuold be root's password of MySQL service.
#      - TIME_ZONE=Asia/Shanghai # Optional, default is UTC. Should be uncomment and set to your local time zone.
      - SEAFILE_ADMIN_EMAIL=admin@example.com # Specifies Seafile admin user, default is 'me@example.com'.
      - SEAFILE_ADMIN_PASSWORD=admin     # Specifies Seafile admin password, default is 'asecret'.
      - SEAFILE_SERVER_LETSENCRYPT=false   # Whether use letsencrypt to generate cert.
      - SEAFILE_SERVER_HOSTNAME=IP:6580 # Specifies your host name.
    depends_on:
      - db
      - memcached
    networks:
      - seafile-net

networks:
  seafile-net:`
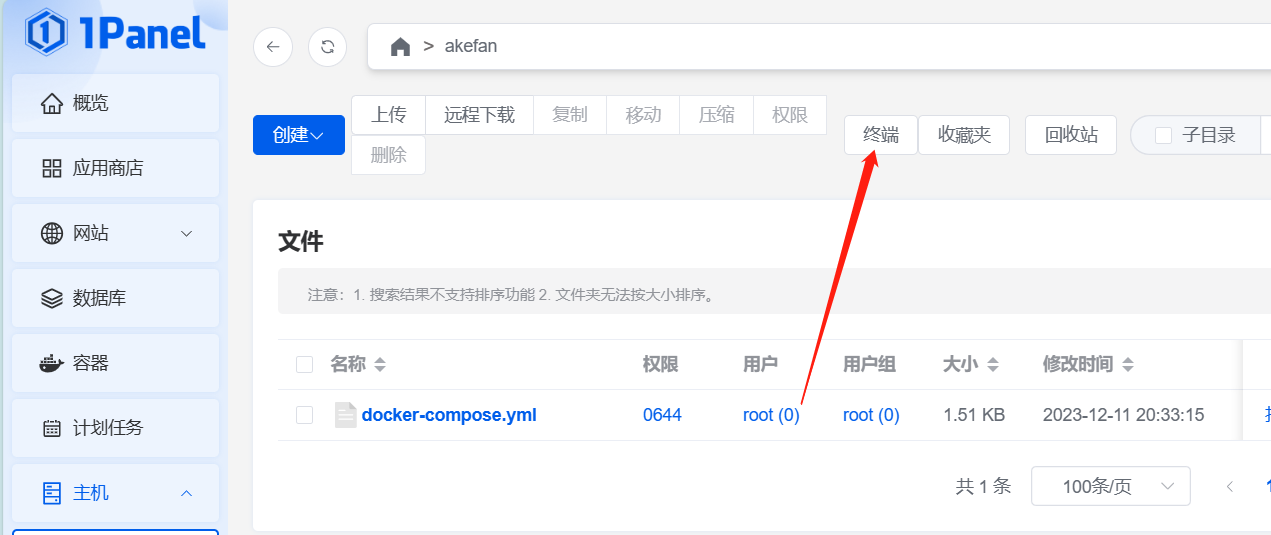
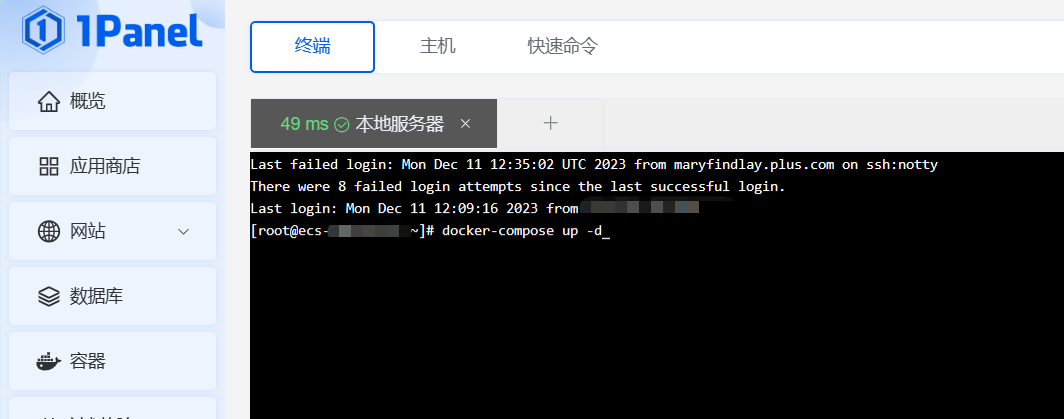
点击终端,输入 docker-compose up -d
登录
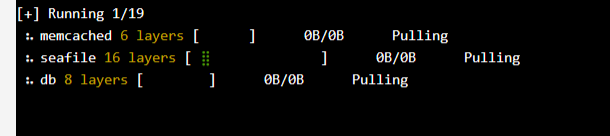
拉去镜像完成后,直接在浏览器中登录
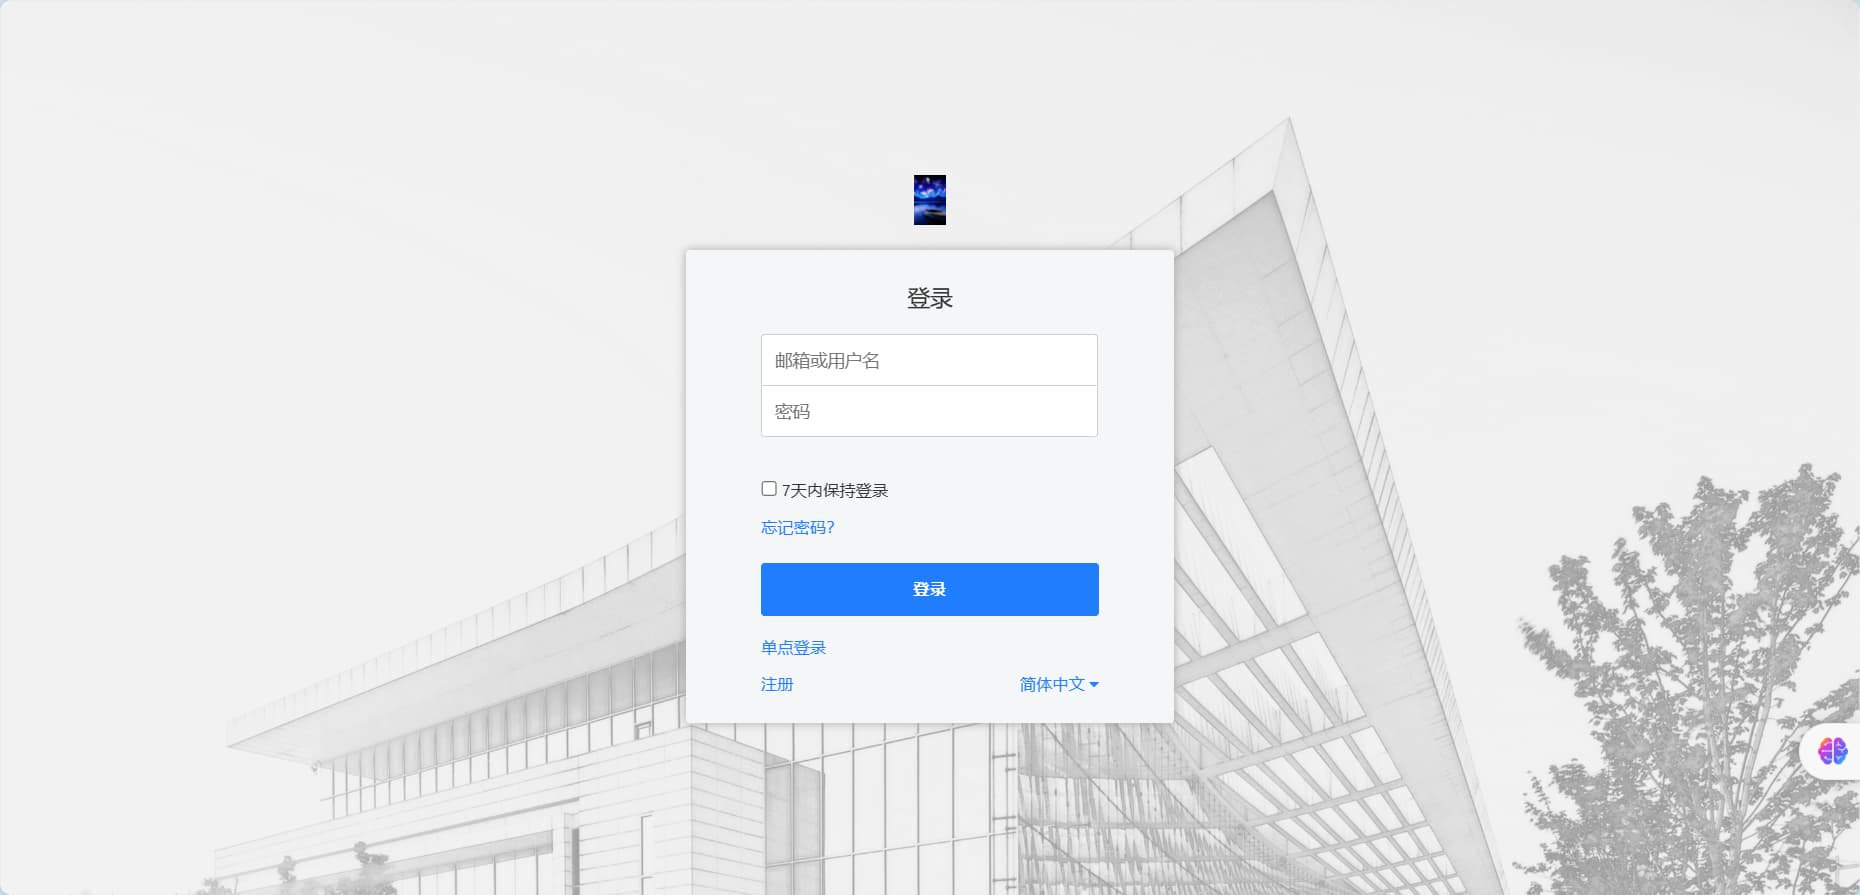
我的yml文件中设置的端口是 6580,所以我在浏览器中访问 http://IP:6580
输入yml文件中设置的账号密码,例如我的是:
admin@example.com
admin
登录成功后显示以下界面就可以咯
The End~